

1. Installing Claude desktop
To use the SingleStore MCP server with Claude, the Claude Desktop application must be installed on your desktop. To do that, go to the official Claude website and download the installer that matches your OS. Once downloaded, follow the standard installation process and open the application. In just a bit, we’ll show you how to configure Claude to work with the SingleStore MCP server.
2. Setting up a local SingleStore MCP server
To make the SingleStore MCP server available to the Claude desktop application, the MCP server must be running locally.
The SingleStore MCP server is written in Python and is published as a package on PyPi, and we will use UV to install the MCP server locally.
You can install UV using pip by running the following command:
1pip install uv
Note: Please refer to the UV installation guide for more information
The simplest way to set up S2 MCP server is to use the initialization command:
1uvx singlestore-mcp-server init
This command is going to:
Authenticate the user
Automatically locate the MCP configuration file for Claude Desktop
Create or update the configuration to include the SingleStore MCP server
Provide instructions for starting the server
You can also explicitly pass your <SINGLESTORE_API_KEY> when initializing the MCP server:
1uvx singlestore-mcp-server init <SINGLESTORE_API_KEY>
After running the initialization command, restart your Claude Desktop application.
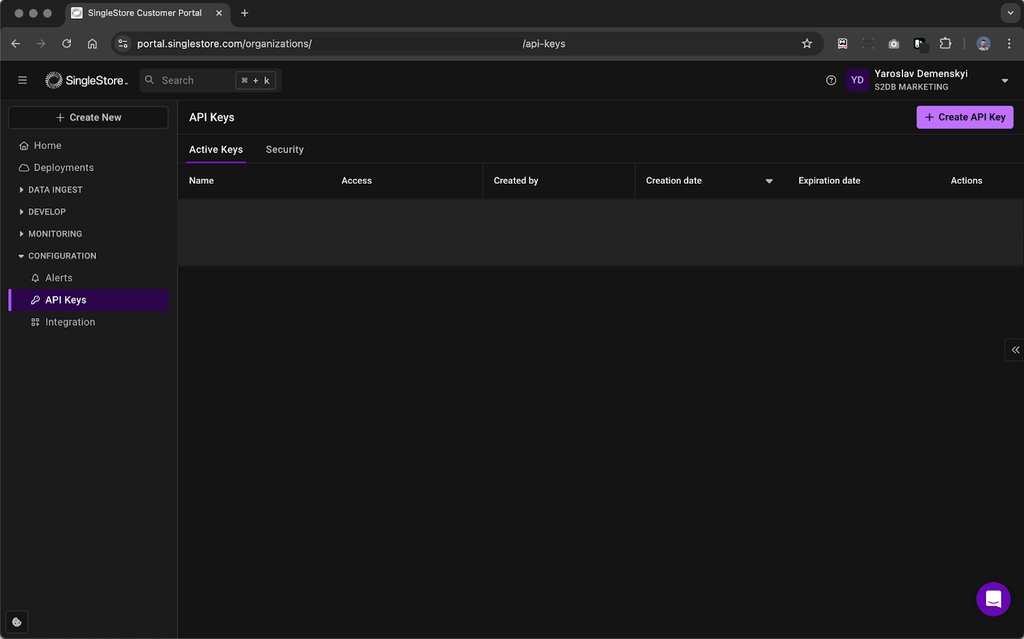
Getting your SINGLESTORE_API_KEY
A SingleStore API key is required to use the SingleStore MCP server. To get an API key, go to the SingleStore Portal and on the left sidebar, click on the “API Keys” menu item under the “Configuration” section.
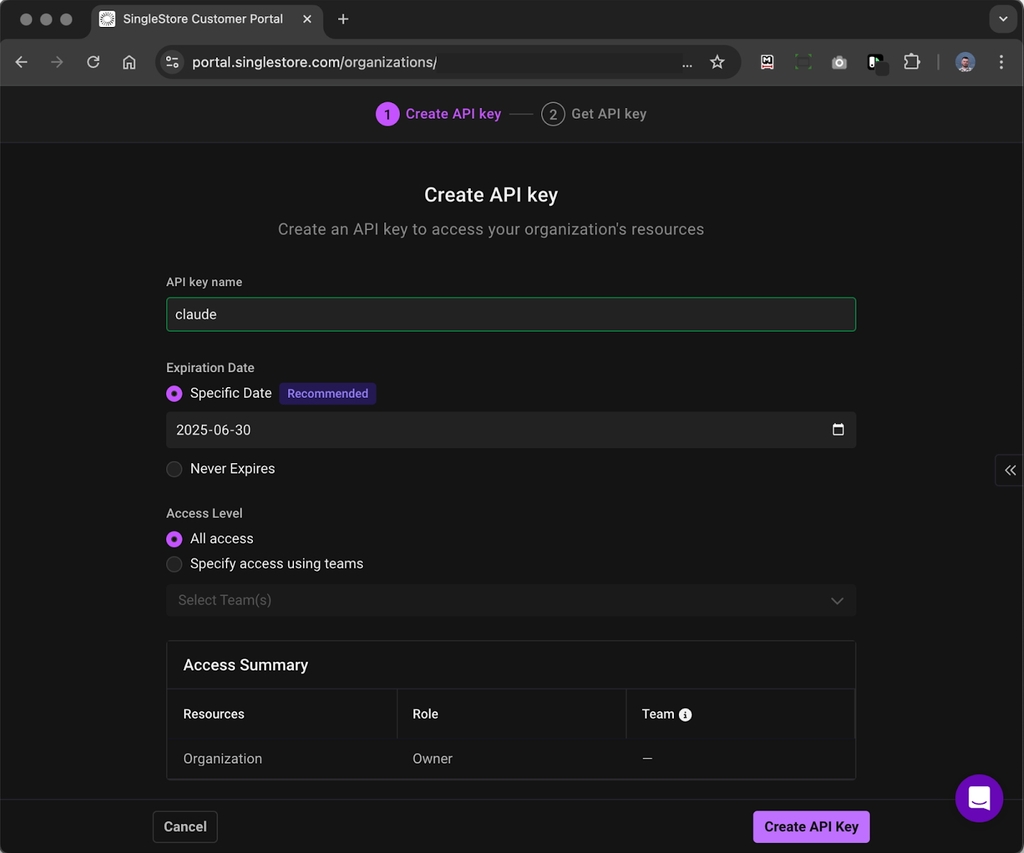
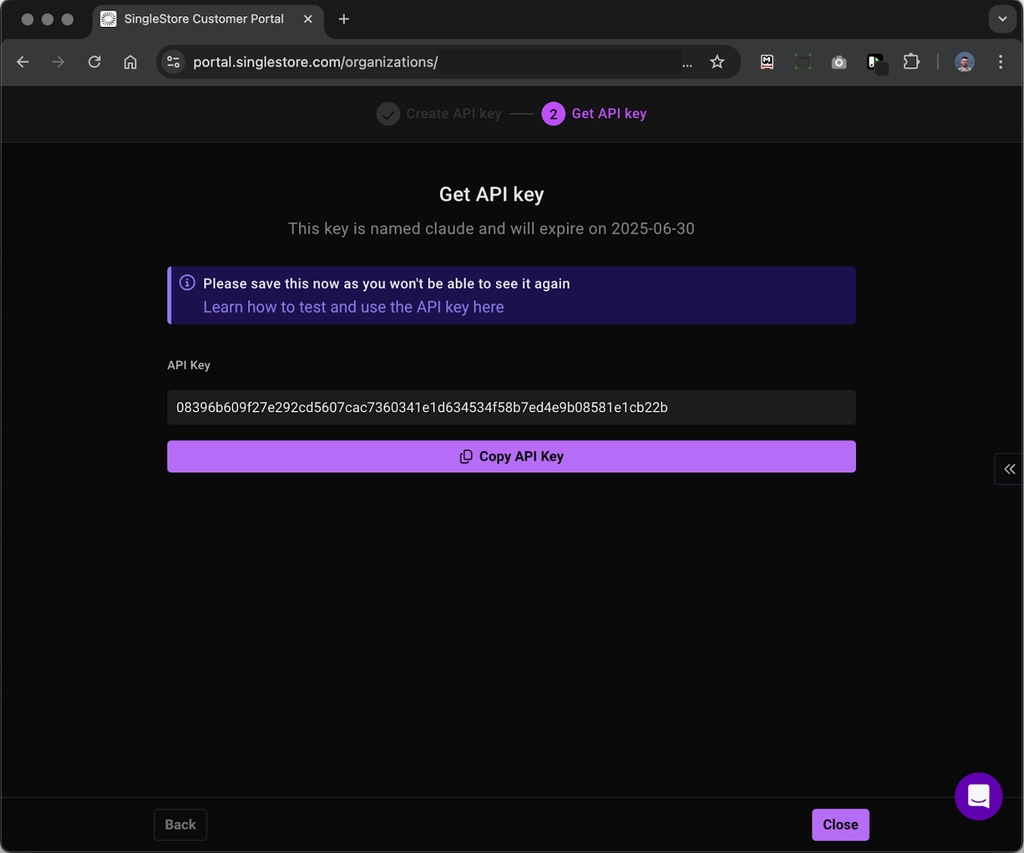
Click on the “Create API Key” button, follow the instructions and copy a generated key.
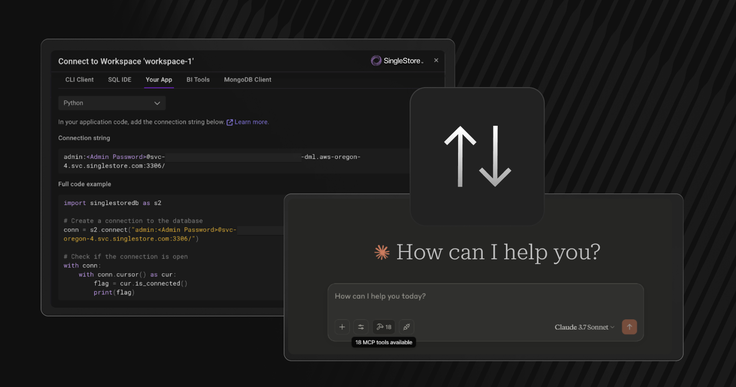
3. Using the SingleStore MCP server in a Claude chat
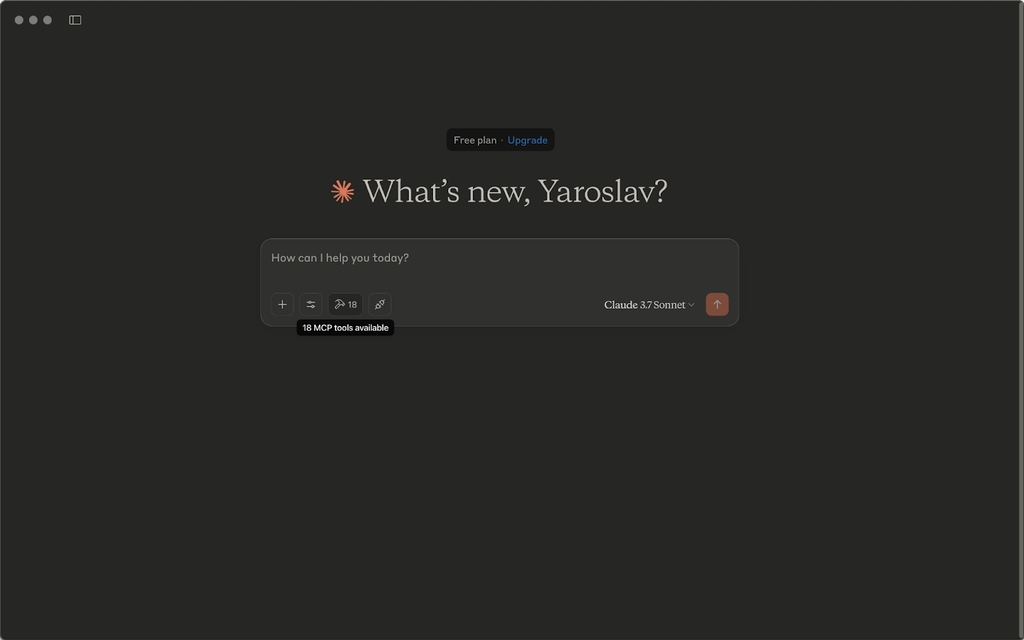
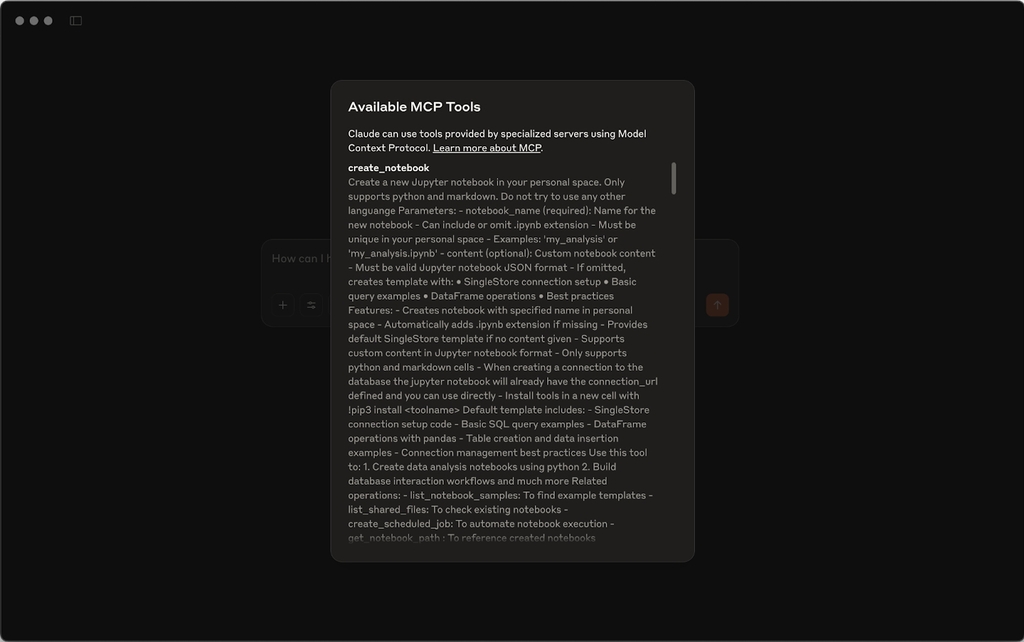
Now you’re ready to use your running SingleStore MCP server in a Claude chat. Start a new conversation and discover the available tools by clicking on the tools icon.
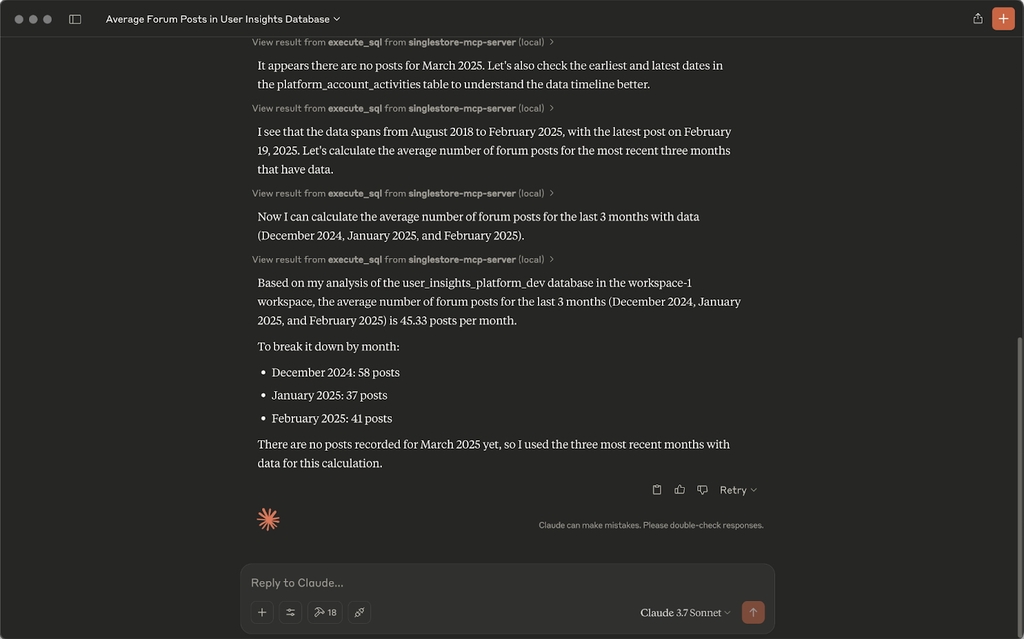
As an example, let's see how many posts on average have been made in the last three months on the forum in the DB sample.
As we can see, Claude used several tools and we got the following result:
SingleStore continues to evolve into the only platform you need for tasks where scale, performance, low latency and AI capabilities truly matter. The MCP server is another powerful addition built to help you get even more out of your data.
Happy chatting!


