
SingleStoreDB’s new Code Engine — Powered by Wasm empowers users to utilize user-defined functions and table-valued functions written in C, C++ and Rust with more supported languages on the way. This is a quick guide on how to get started using this feature on SingleStoreDB with a local Rust environment!
WebAssembly (or Wasm for short), is a binary instruction format designed as a portable compilation target for programming languages. With SingleStoreDB’s Code Engine — Powered by Wasm, users can take advantage of reusing native code in a sandboxed environment, while running the function all inside a SingleStoreDB Workspace at blazing speeds.
I’ll demo how to get started creating Wasm files locally with Rust and VS Code, and then we will upload the files into an AWS S3 Bucket and load/call the Rust user-defined functions on a Singlestore Helios workspace.
Let’s start with our local Installs:
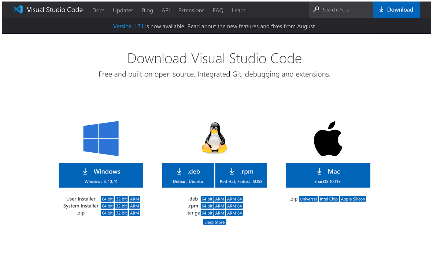
Install v.s. code. The download link can be found here
Download the WASI SDK (in this case we used wasi-sdk-16.0-macos.tar.gz for Mac)
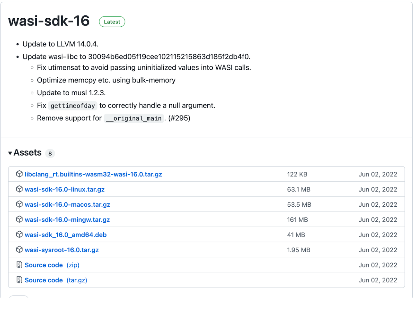
Extract the WASI SDK file from your Downloads folder
tar -xzvf wasi-sdk-16.0-macos.tar.gz

Move the WASI SDK file in the folder of your choice (in my case, I placed it in the opt folder)

Ensure that your $PATH variable is prefixed with this location when you are running the build commands suggested in this tutorial
export PATH=/opt/wasi-sdk-16.0/bin:$PATH

Download and install the Rust toolchain
curl --proto '=https' --tlsv1.2 -sSf https://sh.rustup.rs | sh
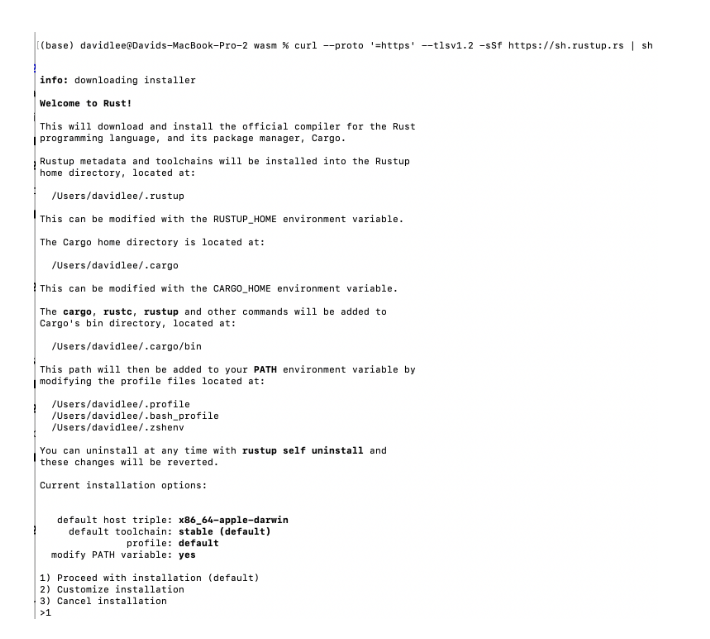
At the prompt, select option 1
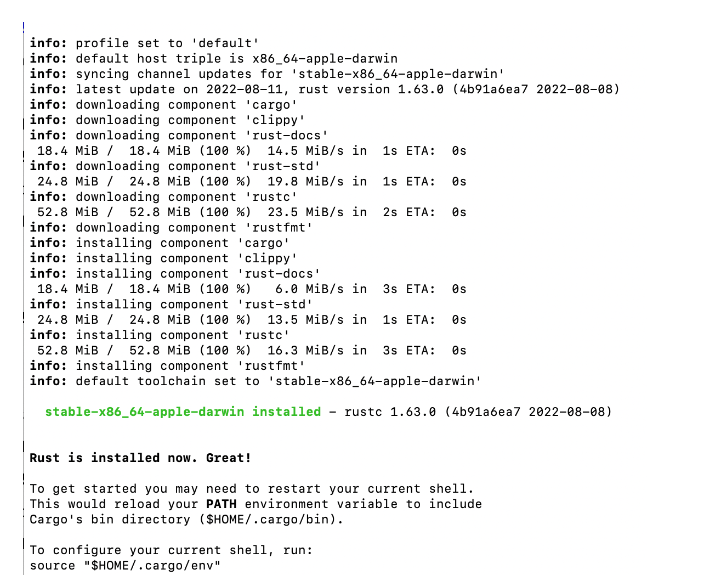
Configure current Rust shell
source $HOME/.cargo/env

Install wit-bindgen program. This will generate our rust bindings which allows the importing of WASI APIs that run during runtime. Normally, Wasm only allows for int 32, int 64, float 32 and float 64. By exporting the Rust to Wasm bindings it allows for use of the canonical abi for more complex data types (such as strings).
cargo install --git https://github.com/bytecodealliance/wit-bindgen
wit-bindgen-cli

Install cargo-wasi. This is a subcommand for cargo that provides convenient defaults for running the Rust code on the wasm32-wasi target.
cargo install cargo-wasi

Great! Our local environment has everything it needs to start creating our Wasm files!
VS Code
Create a new empty folder (mine is called demo_wasm) and open VS Code
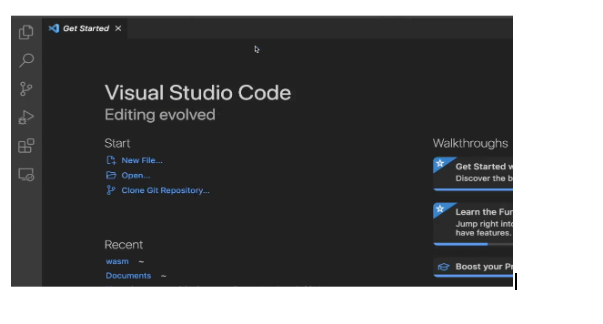
Open the folder by pressing the F1 key, and select File: Open Folder…

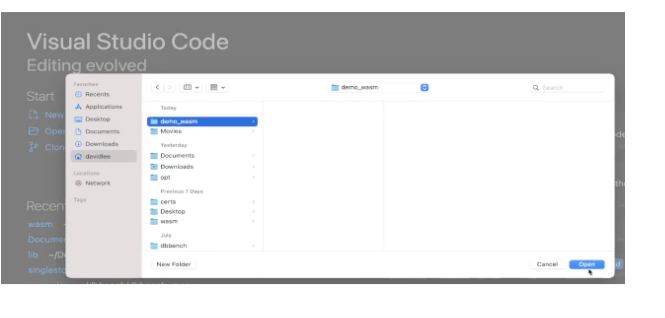
Then open the folder:
Create a new file called power.wit and add the wit specifications. In this case we are creating a “power-of” function that takes a base number and exponent and returns a sign32 integer.
power-of: func(b: s32, exp: s32) -> s32
Then save the file with command + S
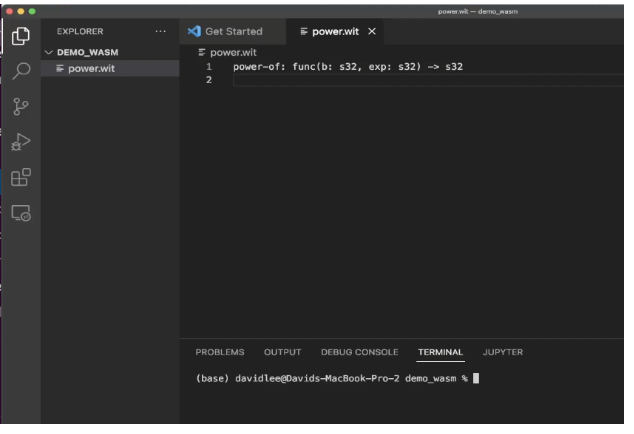
In the terminal window in VS Code, run the following command to initialize the rust source tree
cargo init --vcs none --lib

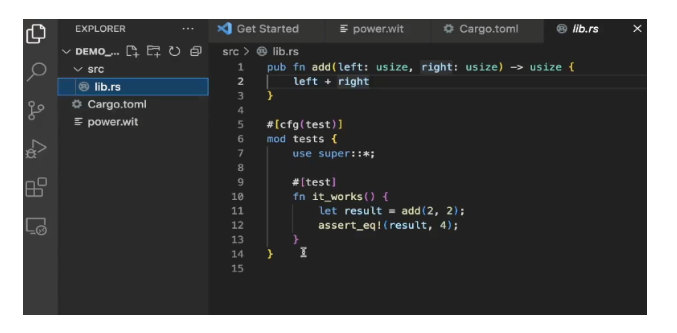
This will create our src folder with the lib.rs file, as well as a Cargo.toml file

Edit the Cargo.toml file with the right function name and dependencies, and save
[package]
name = "power"
version = "0.1.0"
edition = "2018"
[dependencies]
wit-bindgen-rust ={git = "https://github.com/bytecodealliance/wit-bindgen.git", rev =
"60e3c5b41e616fee239304d92128e117dd9be0a7"} [lib]
crate-type = ["cdylib"]

Open the lib.rs file and replace the default add function with the power function logic then save
wit_bindgen_rust::export!("power.wit");
struct Power;

impl power::Power for Power {
    fn power_of(base: i32, exp: i32) -> i32 {
        let mut res = 1;
        for _i in 0..exp {
            res *= base;
        }
        res
    }
}
Build the .wasm file
cargo wasi build --lib

New .wasm file can be found in target/wasm32-wasi/debug folder
cd target/wasm32-wasi/debug/
ls

We have our power.wit and power.wasm file created! We can now move these to object storage (I’ll be using an AWS S3 bucket).
AWS S3
Open AWS console
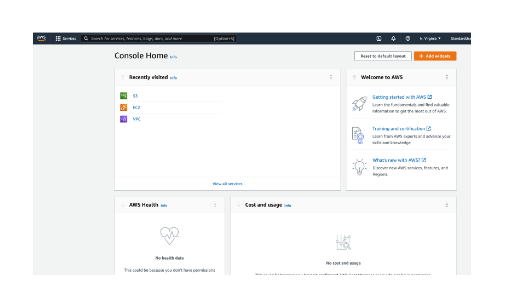
Navigate to S3 Service
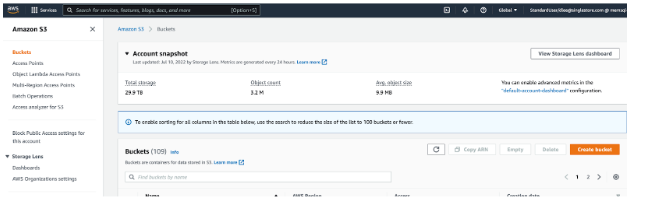
Create or navigate to your S3 bucket
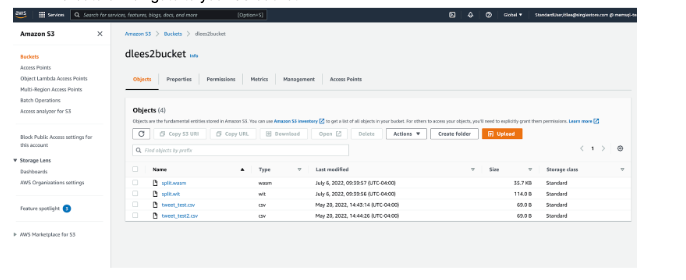
Upload your .wasm and .wit file for your function by clicking the Orange “Upload” button to enter the upload page

Add the .wasm and .wit files in the singlestore-wasm-toolkit folder by dragging and dropping. Or, you can upload using the “Add Files” button. Then hit “Upload”
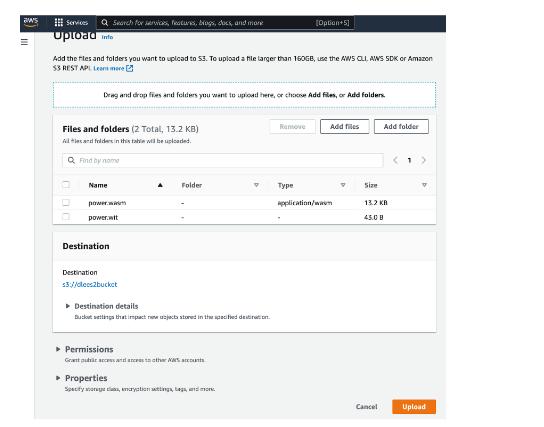
The upload should be successful
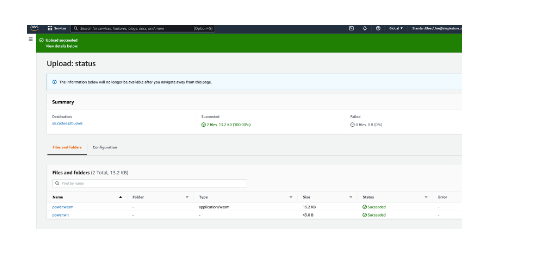
Setup the Singlestore Helios Workspace
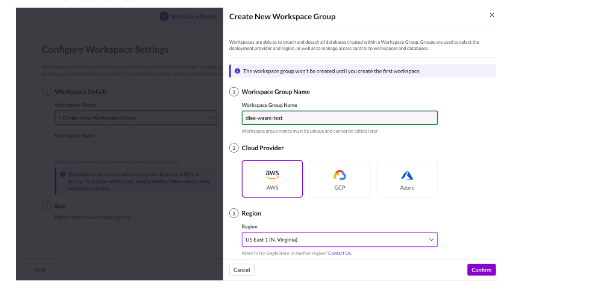
Login to your account in the portal, and create a new workspace group (Wasm only works for SingleStoreDB v7.9+).

Select the name of the workspace, your cloud provider and region of choice, password and then confirm
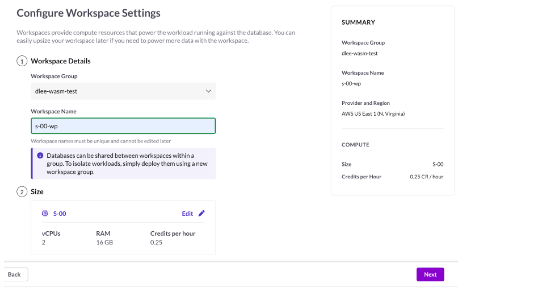
Enter the Workspace Name and desired cluster size. Then click “Next” and create the workspace in the next screen
When the Workspace is finished deploying, select the “Connect” dropdown, and click on the SQL Editor
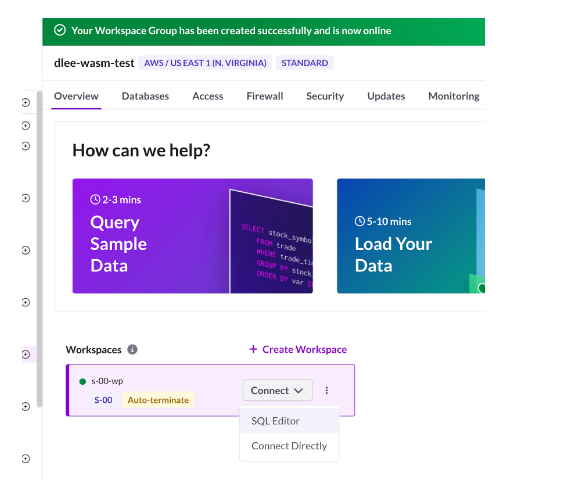
Setup is complete
Load and run the Wasm function in Workspaces on Singlestore Helios
Create and use the database
create database wasm_demo;
use wasm_demo;
Create the Wasm function
-- Wasm udf power of
create function `power_of`
as wasm
from S3 's3://dlees2bucket/power.wasm' -- your S3 bucket location goes here
CONFIG '{"region": "us-east-1"} ' -- specify your aws region
CREDENTIALS '{"aws_access_key_id": "your_aws_access_key_id_goes_here",
"aws_secret_access_key": "your_aws_secret_access_key_goes_here",
"aws_session_token": "your_aws_session_token_goes_here_if_applicable"} '
with wit from S3 's3://dlees2bucket/power.wit' -- your S3 bucket location goes here
CONFIG '{"region": "us-east-1"} ' -- specify your aws region
CREDENTIALS '{"aws_access_key_id": "your_aws_access_key_id_goes_here",
"aws_secret_access_key": "your_aws_secret_access_key_goes_here",
"aws_session_token": "your_aws_session_token_goes_here_if_applicable"} ';
Use the power_of Wasm user-defined function
SELECT `power_of`(4, 3);
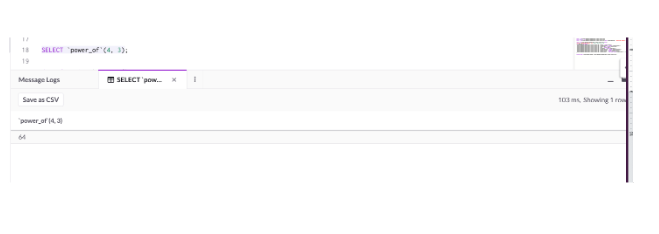
Congratulations! You have just created your first WASM UDF in SingleStoreDB!
Bonus Wasm Table-Valued Function
I’ve also uploaded wasm table-valued function files on my AWS S3 bucket where we split a string based on a character.
For TVFs, all we need to add is the RETURNS TABLE line in the Wasm function create statement. Here is a function we are calling to split a string based on a character and returning the first index of each string.
-- Wasm TVF split string
CREATE FUNCTION `split_str` RETURNS TABLE -- Add RETURNS TABLE for table-valued functions
AS wasm
from S3 's3://dlees2bucket/split.wasm'-- your S3 bucket location goes here
CONFIG '{"region": "us-east-1"} ' -- specify your aws region
CREDENTIALS '{"aws_access_key_id": "your_aws_access_key_id_goes_here",
"aws_secret_access_key": "your_aws_secret_access_key_goes_here",
"aws_session_token": "your_aws_session_token_goes_here_if_applicable"} '
with wit from S3 's3://dlees2bucket/split.wit'-- your S3 bucket location goes here
CONFIG '{"region": "us-east-1"} ' -- specify your aws region
CREDENTIALS '{"aws_access_key_id": "your_aws_access_key_id_goes_here",
"aws_secret_access_key": "your_aws_secret_access_key_goes_here",
"aws_session_token": "your_aws_session_token_goes_here_if_applicable"} ':
Use the split Wasm TVF

In Summary:
- Setting up your local machine can easily create powerful Wasm User-defined Functions in Rust
- We shared a step-by step-guide for creating the Wasm specification .wit file and the Rust binary .wasm file
- These files were uploaded to object storage (AWS S3) and were used to create our Wasm functions inside a newly created Workspace
Wasm is an exciting new technology that we’ve added to the SingleStoreDB ecosystem. This empowers developers in executing functions directly on SingleStore’s distributed system at runtime with near native performance in a secure environment.
Users can efficiently leverage existing code that is compiled to Wasm in a secure environment right in SingleStoreDB. This eliminates the need to rewrite the same complex logic into SQL saving time at near native performance.
Here is a repo with the latest programming languages that support Wasm.

.png?width=24&disable=upscale&auto=webp)
